> For the complete documentation index, see [llms.txt](https://hacking-notes.jord4n.pro/llms.txt). Markdown versions of documentation pages are available by appending `.md` to page URLs; this page is available as [Markdown](https://hacking-notes.jord4n.pro/es/web/xss/dom-xss-with-jquery-hashchange-event.md).
# XSS DOM con jQuery y hashchange
Notas de XSS DOM con jQuery y hashchange para laboratorios de PortSwigger Web Security Academy, incluido el flujo de explotación, pruebas de payloads, validación con Burp Suite y contexto de remediación.
### XSS DOM en el sumidero de selector de jQuery usando un evento hashchange
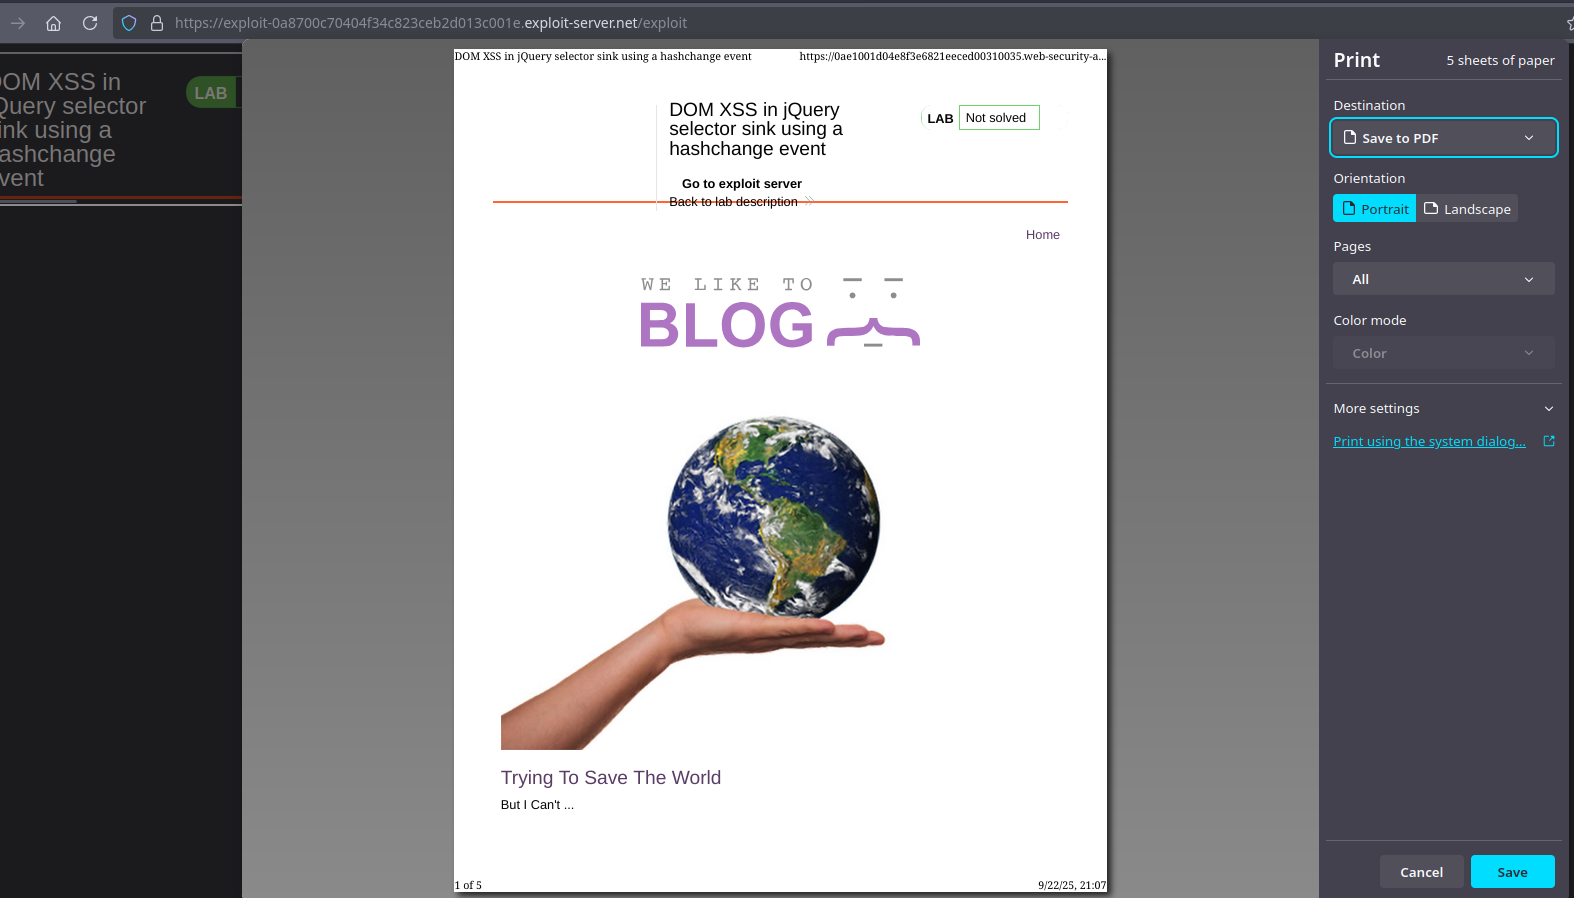
Este laboratorio contiene una vulnerabilidad de XSS del lado del cliente en la página de inicio. El código usa la `$()` función selector de jQuery para apuntar automáticamente a un artículo cuyo título ha pasado a través de `location.hash`. El objetivo del laboratorio es obtener un exploit que, cuando un visitante lo abra, llame a `print()` en su navegador.
{% code overflow="wrap" %}
```javascript
$(window).on('hashchange', function(){
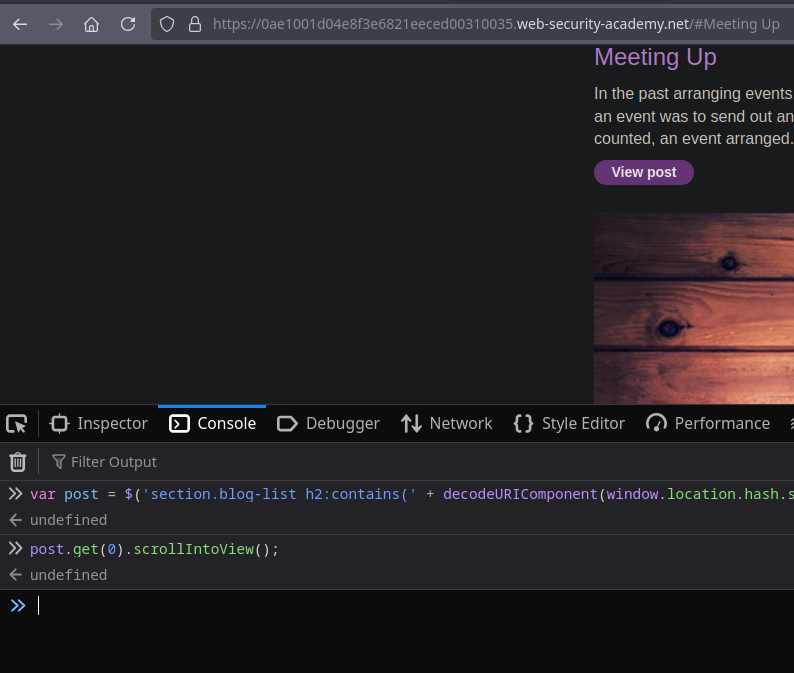
var post = $('section.blog-list h2:contains(' + decodeURIComponent(window.location.hash.slice(1)) + ')');
if (post) post.get(0).scrollIntoView();
});
```
{% endcode %}
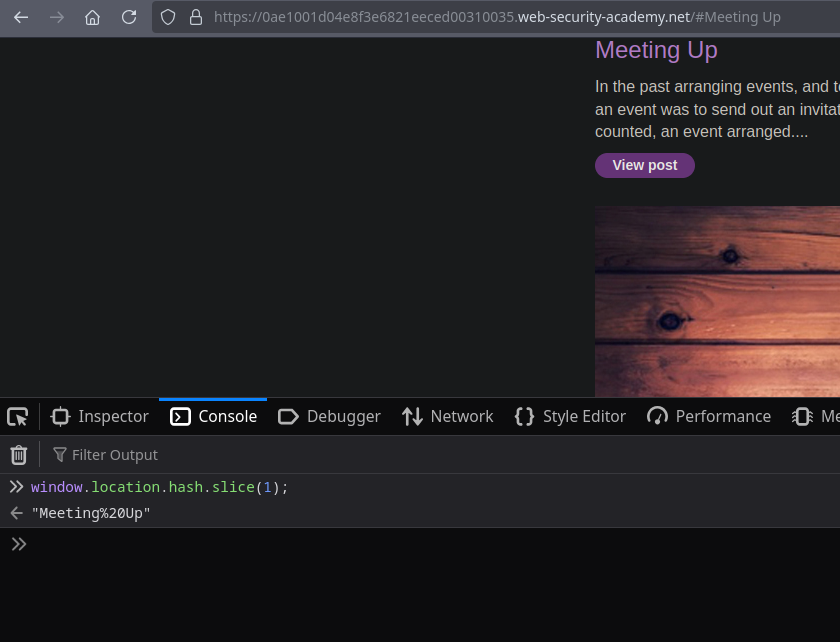
* La función recupera el fragmento de la URL (`window.location.hash`), elimina `#` con `slice(1)` y lo decodifica con `decodeURIComponent`.
* Este texto se concatena directamente en un selector de jQuery `:contains(...)` selector. Como no hay escape, el contenido especialmente construido puede romper la sintaxis e inyectar HTML/JS mediante vectores como `onerror` atributos.
* El código solo activa la acción cuando cambia el hash (`hashchange`), por lo que un enlace inicial simple sin hash no disparará nada hasta que el fragmento se cambie del lado del cliente.
* Aprovechamos el hecho de que la modificación de `#` dispara el evento. Por lo tanto, el exploit debe obligar al navegador de la víctima a cargar una URL con un fragmento que contenga la carga útil.
* Un método común es usar un `
```
{% endcode %}
* Exploit final para `print()` (versión adaptada):
{% code overflow="wrap" %}
```javascript
```
{% endcode %}
---
# Agent Instructions
This documentation is published with GitBook. GitBook is the documentation platform designed so that both humans and AI agents can read, navigate, and reason over technical content effectively. Learn more at gitbook.com.
## Querying This Documentation
If you need additional information that is not directly available in this page, you can query the documentation by asking a question.
Perform an HTTP GET request on the following URL with the `ask` and `goal` query parameters:
```
GET https://hacking-notes.jord4n.pro/es/web/xss/dom-xss-with-jquery-hashchange-event.md?ask=&goal=
```
`ask` is the immediate question: it should be specific, self-contained, and written in natural language.
`goal` is what the user is ultimately trying to achieve, the reason they need the answer. Sharing it helps GitBook give you a better, more relevant answer. A goal is most helpful when it describes the outcome the user wants rather than restating the question. For example, with `ask=how do I create an API token`, a goal like `automate deployments from our CI pipeline` lets GitBook tailor the answer to that use case.
The response will contain a direct answer to the question and relevant excerpts and sources from the documentation.
Use this mechanism when the answer is not explicitly present in the current page, you need clarification or additional context, or you want to retrieve related documentation sections.