> For the complete documentation index, see [llms.txt](https://hacking-notes.jord4n.pro/llms.txt). Markdown versions of documentation pages are available by appending `.md` to page URLs; this page is available as [Markdown](https://hacking-notes.jord4n.pro/hacking-tools/enumeration/ruview-wifi-sensing.md).
# RuView WiFi Sensing
RuView WiFi sensing notes for learning how Channel State Information can be used to explore presence, movement, vital signs, and room activity without cameras.
[RuView](https://github.com/ruvnet/RuView) is an experimental WiFi sensing platform. Instead of using a camera, it studies how WiFi signals change when someone moves, sits, breathes, or walks through a room.
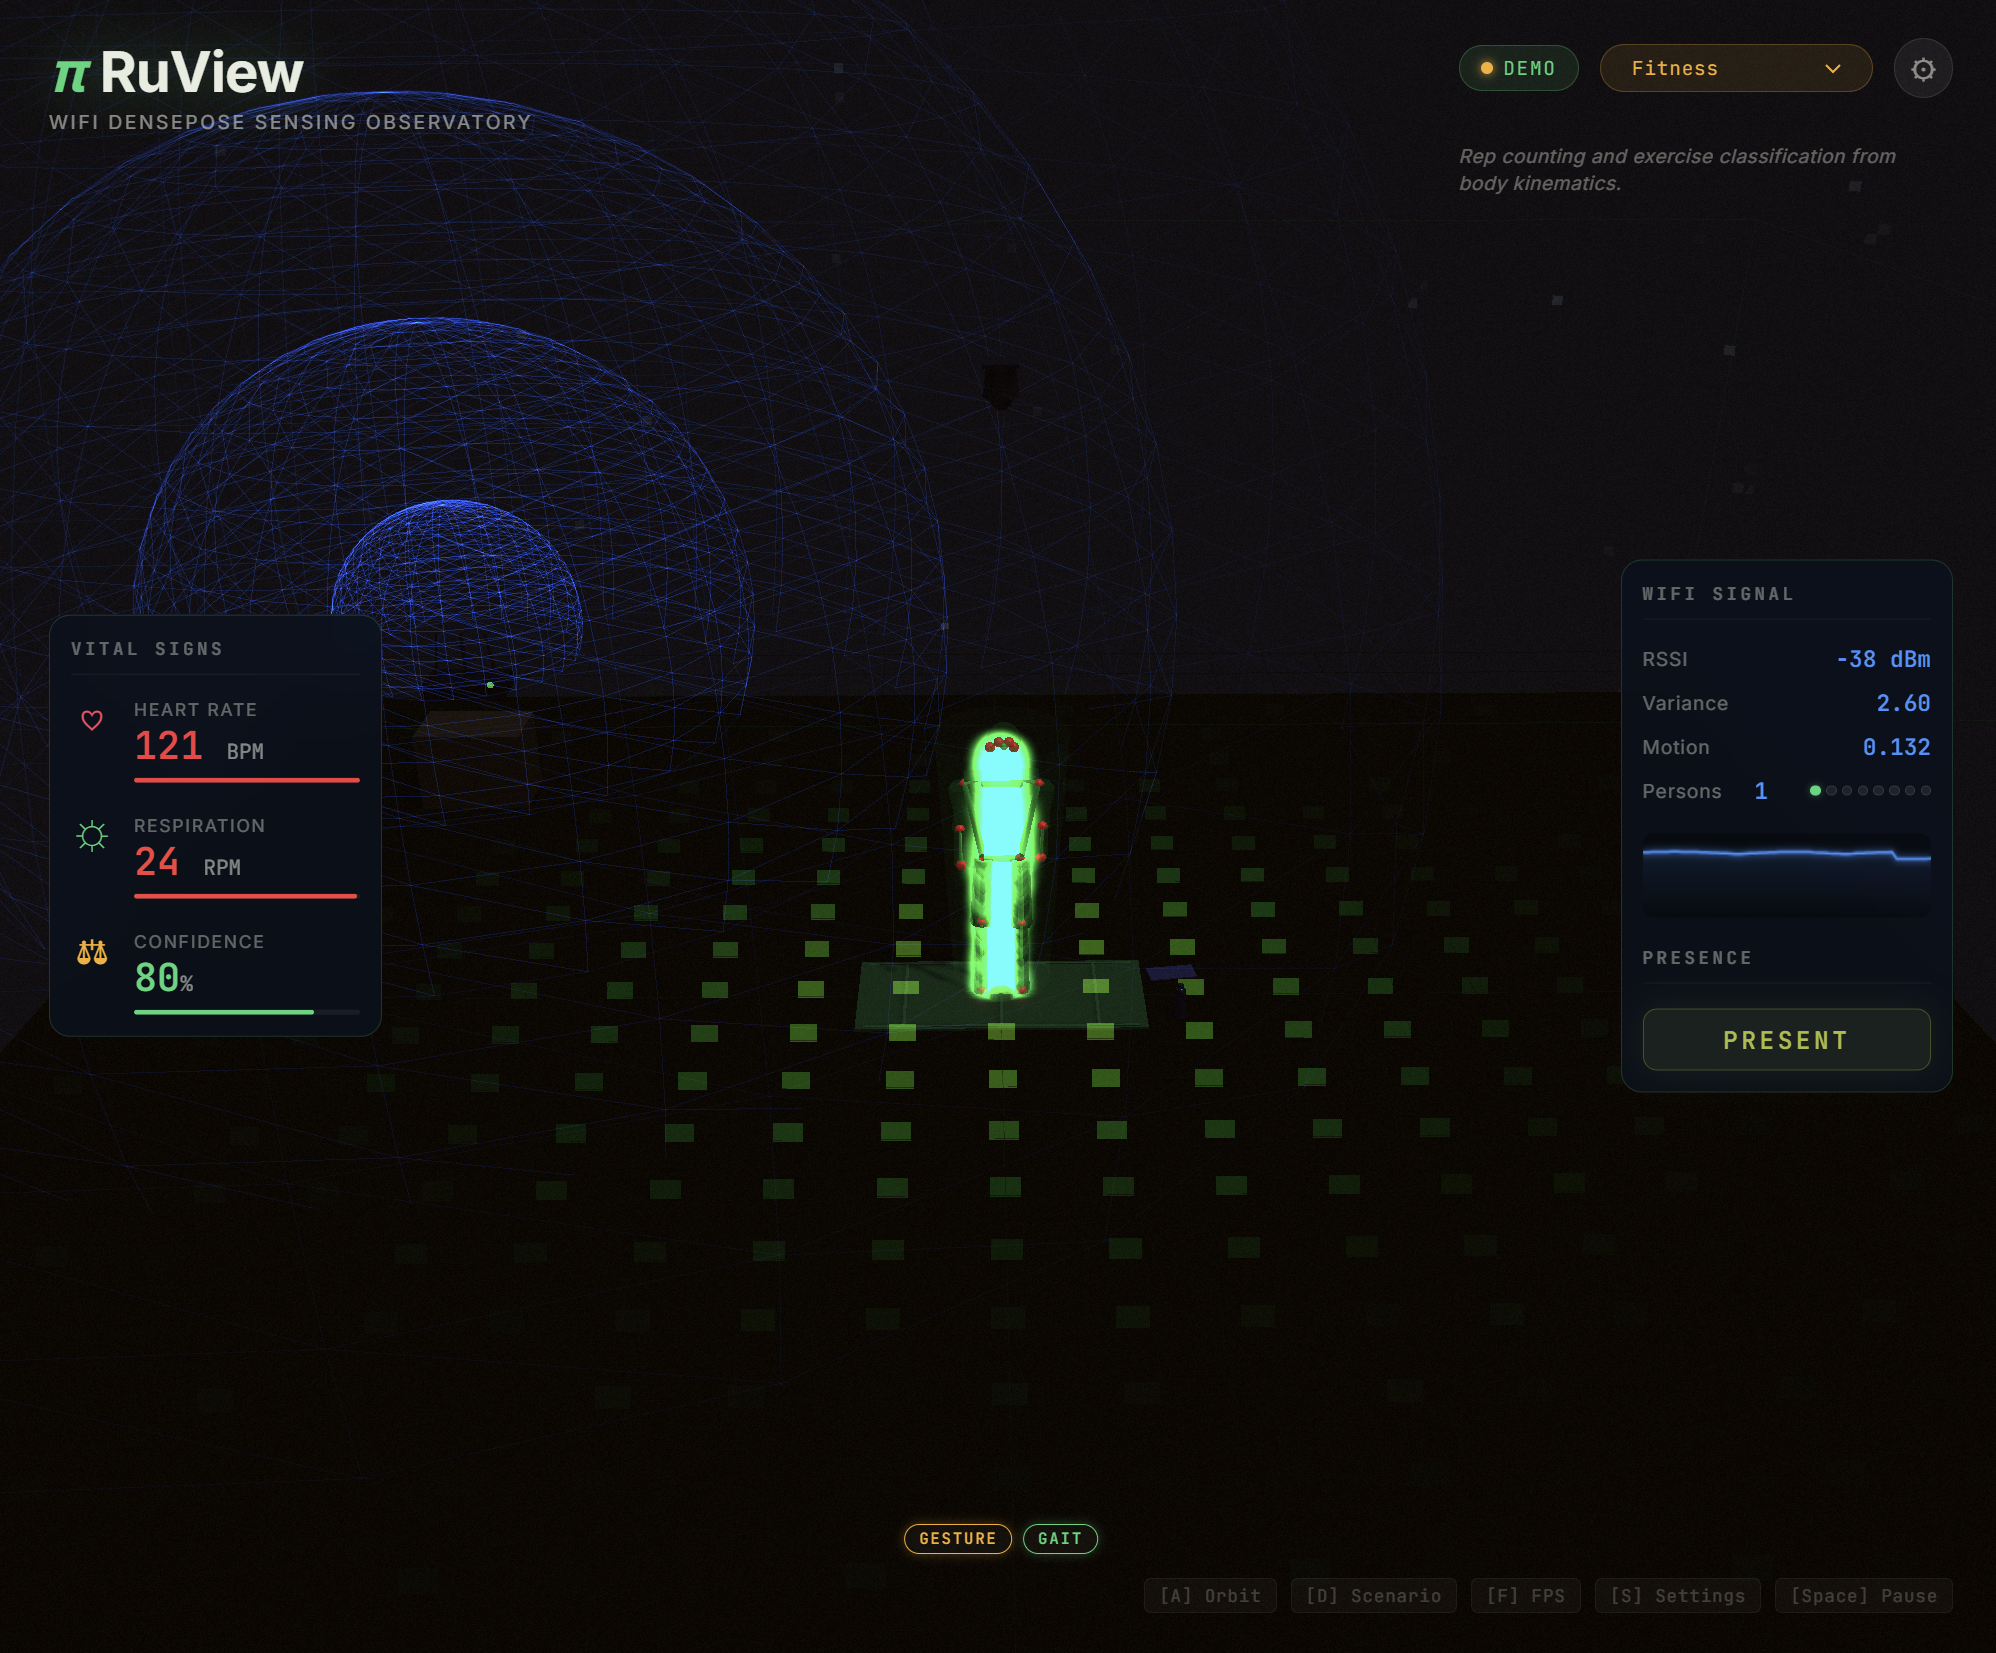
RuView Observatory demo from the official repository.
{% hint style="info" %}
Use RuView only in authorized labs or spaces where people know they are being monitored. Treat presence, pose, fall, and vital-sign output as research signals unless you validate them independently.
{% endhint %}
## Visual Demos and Videos
Use these visuals to understand the project before trying hardware. Start with the demo, then compare what the interface shows with your own controlled experiments.
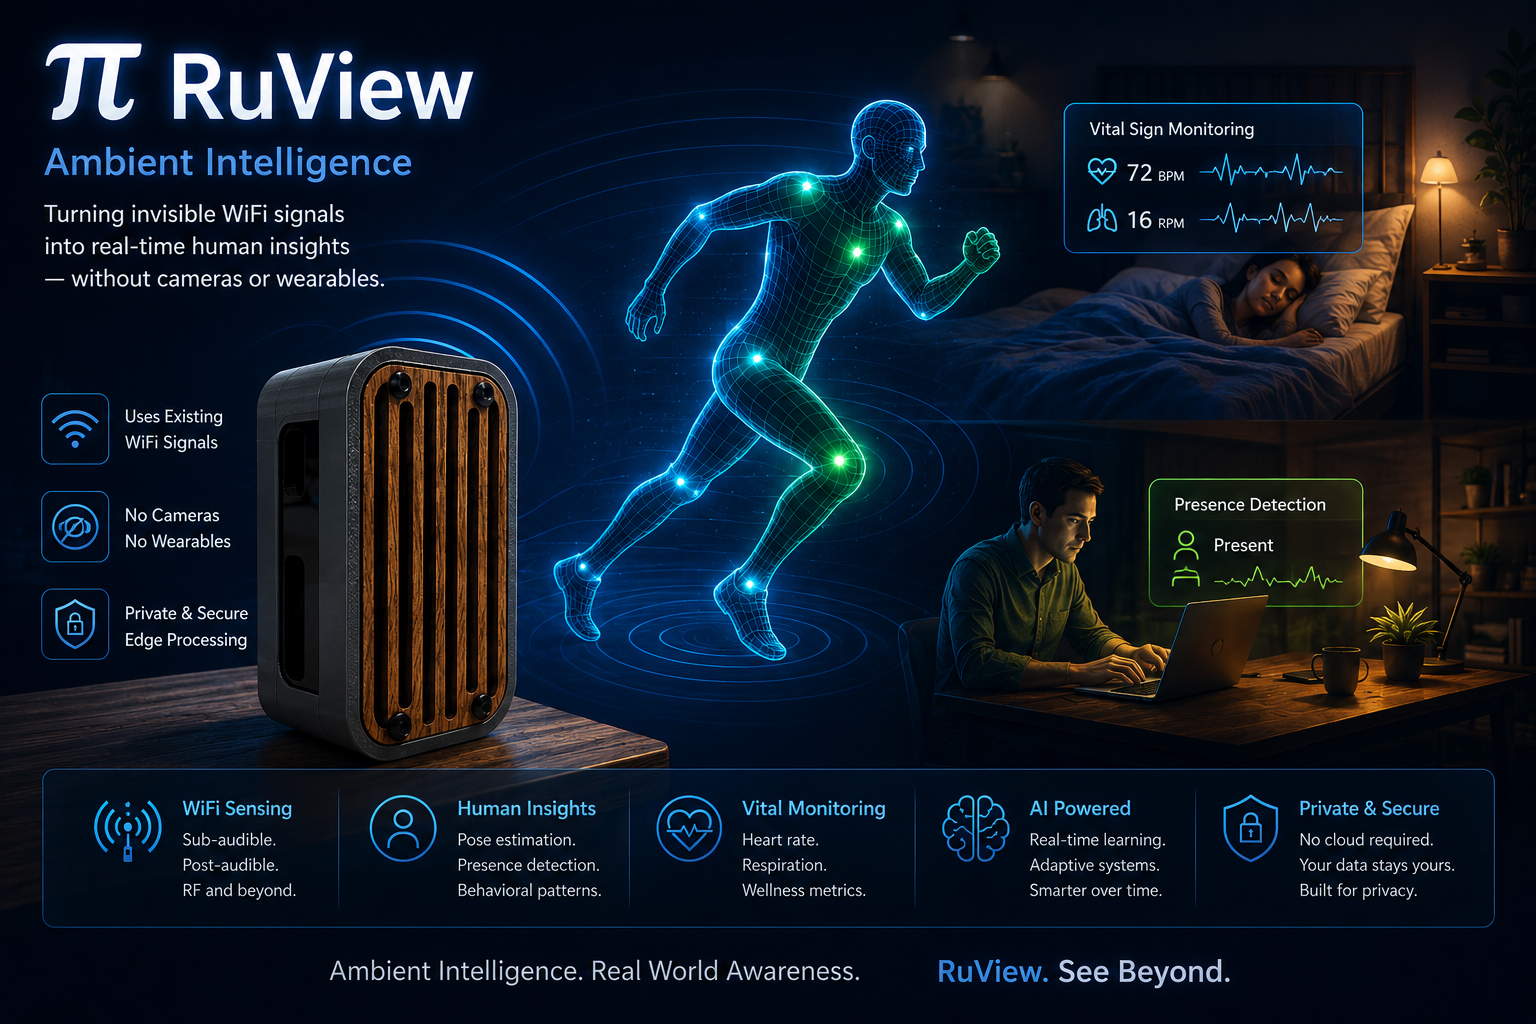
Official RuView visual overview.
### Online Observatory
The official browser demo cycles through scenarios such as empty room, vital signs, multi-person tracking, fall detection, sleep monitoring, intrusion detection, and search and rescue.
{% embed url="" %}
### Pose Fusion Demo
This demo is useful for understanding the difference between visual pose data and WiFi CSI interpretation. Use it as a concept view, not as proof that every room will work the same way.
{% embed url="" %}
### Point Cloud Demo
The point cloud demo helps explain the idea of turning sensing inputs into a spatial view.
{% embed url="" %}
### Background Video
This video is not RuView-specific, but it gives a simple high-level explanation of the academic idea behind DensePose from WiFi.
{% embed url="" %}
| Visual | What to look for |
| ------------------------- | -------------------------------------------------------------------------- |
| Observatory demo | Presence, movement, confidence, simulated vital signs, scenario switching. |
| Pose Fusion | How pose-like output is visualized and why validation matters. |
| Point Cloud | How sensing can become a spatial representation. |
| DensePose from WiFi video | Research context behind WiFi-based body estimation. |
## What It Does
RuView tries to turn WiFi signal changes into useful room-level information:
| Use case | Plain meaning |
| -------------------- | ------------------------------------------------------------------------------------ |
| Presence detection | Is someone in the room? |
| Movement detection | Is someone walking, sitting, or moving? |
| Vital signs | Estimate breathing or heart-rate trends from small signal changes. |
| Activity recognition | Spot repeated patterns such as gestures, sleeping, room activity, or possible falls. |
| Smart-home events | Expose presence or activity states to systems such as Home Assistant. |
| Research demos | Visualize WiFi-based pose, point clouds, and sensing scenarios. |
## How It Works
WiFi already bounces around rooms. A person changes those radio paths slightly. RuView reads those changes as **Channel State Information** (CSI), cleans the signal, and sends it to models or simple rules that estimate what may be happening.
Simple flow:
```
WiFi signal
-> ESP32 or CSI-capable hardware
-> CSI stream
-> RuView processing
-> presence, movement, vitals, or demo visualization
```
An easy way to think about it: a camera sees pixels; RuView sees small changes in radio reflections. That makes it useful for research, but also sensitive to room layout, furniture, walls, people count, antenna position, and calibration.
## What You Need
| Goal | Recommended setup |
| ------------------------- | ----------------------------------------------------- |
| Try the interface quickly | Docker demo with simulated data. |
| Learn the Python package | `pip install ruview` or `pip install wifi-densepose`. |
| Test real CSI capture | ESP32-S3 or ESP32-C6 board with RuView firmware. |
| Better room coverage | Multiple ESP32 nodes or a small mesh. |
| Model experiments | Hugging Face model bundle and local datasets. |
## Quick Docker Demo
This is the easiest first test because it does not need hardware.
```bash
docker pull ruvnet/wifi-densepose:latest
docker run -p 3000:3000 ruvnet/wifi-densepose:latest
```
Open:
```
http://localhost:3000
```
Use this mode to learn the dashboard, scenarios, and expected outputs before buying or flashing hardware.
## Python Package
Install the Python package:
```bash
pip install ruview
```
Alternative package name:
```bash
pip install wifi-densepose
```
Install optional client support for WebSocket and MQTT workflows:
```bash
pip install "ruview[client]"
```
Basic import check:
```python
from ruview import BreathingExtractor, HeartRateExtractor
```
## Pretrained Model
RuView publishes pretrained WiFi sensing weights on Hugging Face. Download them locally:
```bash
pip install huggingface_hub
huggingface-cli download ruvnet/wifi-densepose-pretrained --local-dir models/wifi-densepose-pretrained
```
Use these files for learning, inspection, and experiments. For live deployments, check the current repository notes because model formats and server support may change.
## ESP32 Hardware Setup
For real CSI sensing, use ESP32 hardware that can expose WiFi channel information. The README highlights ESP32-S3 and ESP32-C6 as practical options.
Typical high-level process:
1. Build or download the ESP32 CSI node firmware.
2. Flash the firmware to the board.
3. Provision WiFi credentials and the target server IP.
4. Start the RuView sensing server or bridge.
5. Open the dashboard and run a small room experiment.
Example flashing shape from the project README:
```bash
python -m esptool --chip esp32s3 --port COM9 --baud 460800 \
write_flash 0x0 bootloader.bin 0x8000 partition-table.bin \
0xf000 ota_data_initial.bin 0x20000 esp32-csi-node.bin
```
Provision WiFi:
```bash
python firmware/esp32-csi-node/provision.py --port COM9 \
--ssid "YourWiFi" --password "secret" --target-ip 192.168.1.20
```
## First Experiments
Start with simple experiments before trying pose or vital signs:
| Experiment | What to record |
| ------------------------- | ----------------------------------------- |
| Empty room | Baseline signal when nobody is there. |
| One person enters | Presence change and confidence. |
| Walk across the room | Motion signal and timing. |
| Sit still | False positives and stability. |
| Door opens without person | Environmental noise check. |
| Two people enter | Whether count and motion become unstable. |
Good notes make the result more useful:
* Room layout.
* Sensor positions.
* WiFi channel.
* Number of people.
* Walls or furniture between nodes.
* Repeated positive and negative tests.
## Useful Commands
Run the simulated demo:
```bash
docker run -p 3000:3000 ruvnet/wifi-densepose:latest
```
Download model files:
```bash
huggingface-cli download ruvnet/wifi-densepose-pretrained --local-dir models/wifi-densepose-pretrained
```
Build ESP32-C6 firmware from the project firmware folder:
```bash
cd firmware/esp32-csi-node
idf.py set-target esp32c6
idf.py build
idf.py -p COM6 flash
```
Run a live RF room scan from the repository scripts:
```bash
node scripts/rf-scan.js --port 5006
```
## When To Use It
RuView fits well in:
* Wireless and IoT research.
* Privacy reviews for camera-free sensing.
* Smart-home presence experiments.
* Understanding how WiFi can become a sensor.
* Lab demonstrations of CSI, motion, and RF fingerprints.
It does not replace:
* A certified medical device.
* A reliable safety alarm by itself.
* A camera-level identity or pose system.
* Proper physical security validation.
## Validation Checklist
Before trusting any output:
1. Confirm the demo or server runs.
2. Confirm hardware is producing CSI, not only RSSI.
3. Record an empty-room baseline.
4. Repeat each test several times.
5. Run negative tests that should not trigger detection.
6. Compare vital signs or safety events with an independent reference.
7. Document failures, not only successful screenshots.
## References
* [RuView official repository](https://github.com/ruvnet/RuView)
* [RuView user guide](https://github.com/ruvnet/RuView/blob/main/docs/user-guide.md)
* [RuView online observatory demo](https://ruvnet.github.io/RuView/)
* [RuView pretrained model on Hugging Face](https://huggingface.co/ruvnet/wifi-densepose-pretrained)
* [RuView motion capture guide](https://ruview.blog/ruview-motion-capture/)
---
# Agent Instructions
This documentation is published with GitBook. GitBook is the documentation platform designed so that both humans and AI agents can read, navigate, and reason over technical content effectively. Learn more at gitbook.com.
## Querying This Documentation
If you need additional information that is not directly available in this page, you can query the documentation by asking a question.
Perform an HTTP GET request on the following URL with the `ask` and `goal` query parameters:
```
GET https://hacking-notes.jord4n.pro/hacking-tools/enumeration/ruview-wifi-sensing.md?ask=&goal=
```
`ask` is the immediate question: it should be specific, self-contained, and written in natural language.
`goal` is what the user is ultimately trying to achieve, the reason they need the answer. Sharing it helps GitBook give you a better, more relevant answer. A goal is most helpful when it describes the outcome the user wants rather than restating the question. For example, with `ask=how do I create an API token`, a goal like `automate deployments from our CI pipeline` lets GitBook tailor the answer to that use case.
The response will contain a direct answer to the question and relevant excerpts and sources from the documentation.
Use this mechanism when the answer is not explicitly present in the current page, you need clarification or additional context, or you want to retrieve related documentation sections.