> For the complete documentation index, see [llms.txt](https://hacking-notes.jord4n.pro/llms.txt). Markdown versions of documentation pages are available by appending `.md` to page URLs; this page is available as [Markdown](https://hacking-notes.jord4n.pro/zh/hacking-tools/enumeration/ruview-wifi-sensing.md).
# RuView WiFi 感知
[RuView](https://github.com/ruvnet/RuView) 是一种实验性的 WiFi 感知平台。它不使用摄像头,而是研究当有人在房间里移动、坐下、呼吸或走动时,WiFi 信号如何变化。
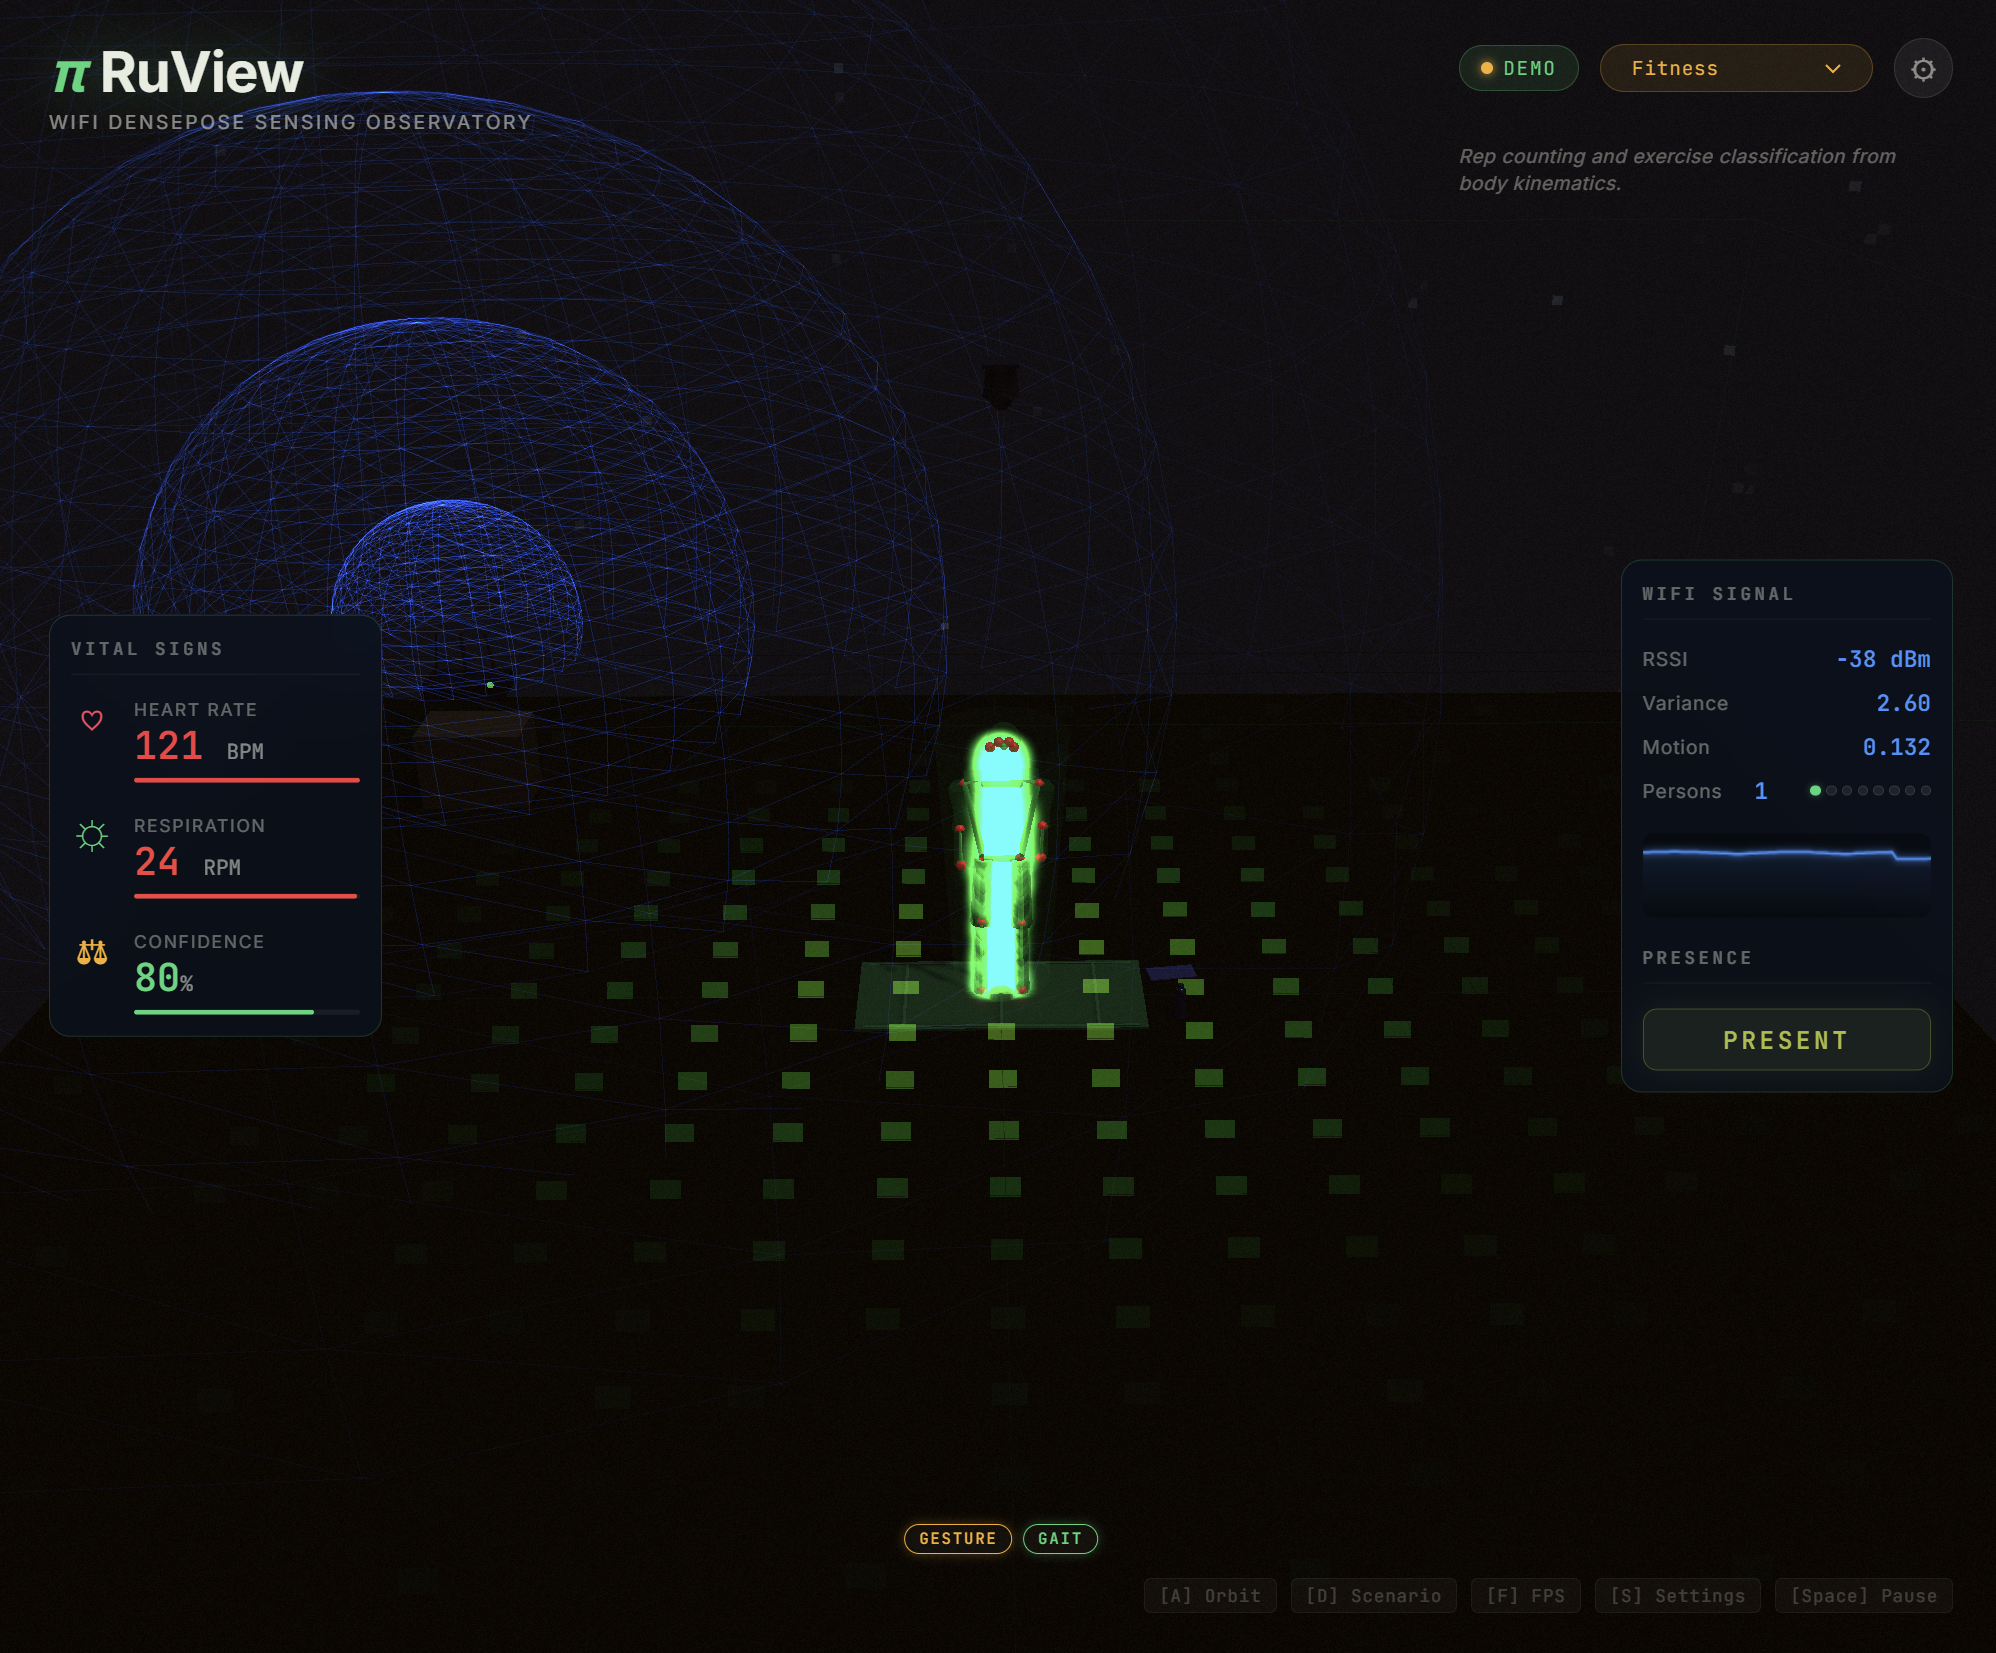
来自官方仓库的 RuView 观测台演示。
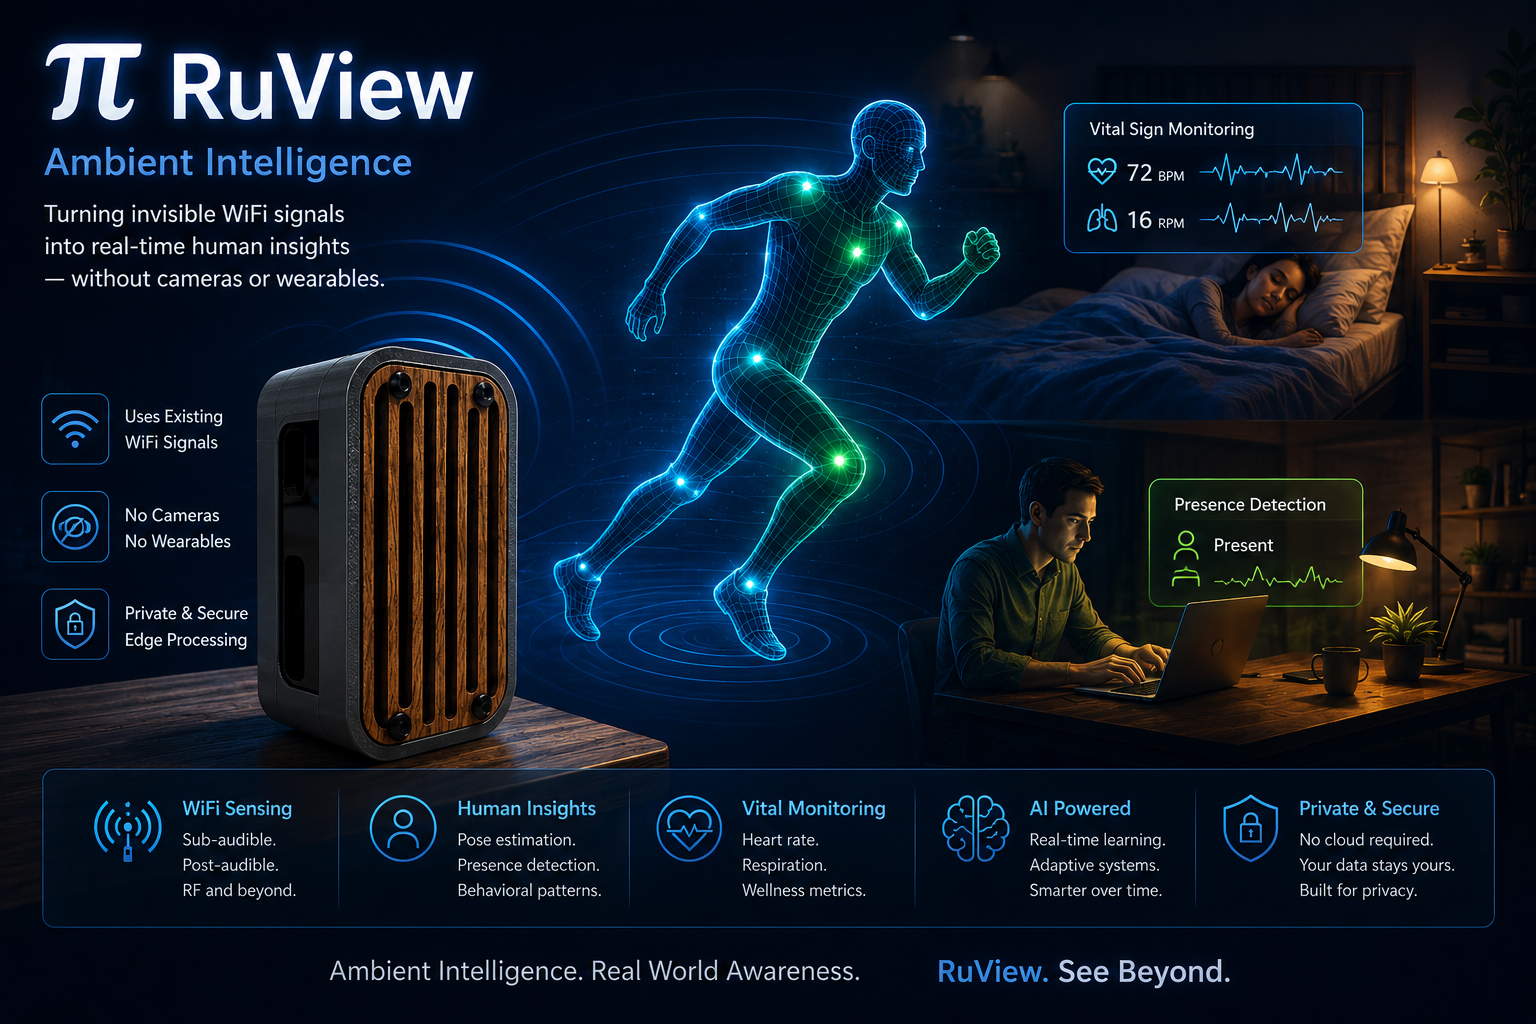
RuView 官方视觉概览。
" %}
### 点云演示
点云演示有助于说明将感知输入转换为空间视图的概念。
{% embed url="" %}
| 视觉 | 关注重点 |
| --------------------- | ---------------------- |
| 观测台演示 | 存在、运动、置信度、模拟生命体征、场景切换。 |
| 姿态融合 | 姿态类输出如何可视化,以及为什么验证很重要。 |
| 点云 | 感知如何变成空间表示。 |
| 来自 WiFi 视频的 DensePose | 基于 WiFi 的身体估计背后的研究背景。 |
## 它能做什么
RuView 试图将 WiFi 信号变化转化为有用的房间级信息:
| 用例 | 通俗含义 |
| ------ | ------------------------------ |
| 存在检测 | 房间里有人吗? |
| 运动检测 | 有人在走动、坐下或移动吗? |
| 生命体征 | 根据微小的信号变化估计呼吸或心率趋势。 |
| 活动识别 | 识别重复模式,例如手势、睡眠、房间活动或可能的跌倒。 |
| 智能家居事件 | 向 Home Assistant 等系统提供存在或活动状态。 |
| 研究演示 | 可视化基于 WiFi 的姿态、点云和感知场景。 |
## 它是如何工作的
WiFi 本来就在房间里反射传播。人的出现会稍微改变这些无线电路径。RuView 将这些变化读取为 **信道状态信息** (CSI),对信号进行清理,并将其发送给模型或简单规则,以估计可能正在发生什么。
简单流程:
```
WiFi 信号
-> ESP32 或支持 CSI 的硬件
-> CSI 流
-> RuView 处理
-> 存在、运动、生命体征或演示可视化
```
把它理解为一种简单的方式:摄像头看到的是像素;RuView 看到的是无线电反射中的微小变化。这使它适合研究,但也使其对房间布局、家具、墙壁、人数、天线位置和校准非常敏感。
## 你需要什么
| 目标 | 推荐配置 |
| ----------- | ---------------------------------------------------- |
| 快速试用界面 | 使用模拟数据的 Docker 演示。 |
| 学习 Python 包 | `pip install ruview` 或 `pip install wifi-densepose`. |
| 测试真实 CSI 采集 | 刷入 RuView 固件的 ESP32-S3 或 ESP32-C6 开发板。 |
| 更好的房间覆盖 | 多个 ESP32 节点或一个小型 Mesh 网络。 |
| 模型实验 | Hugging Face 模型包和本地数据集。 |
## 快速 Docker 演示
这是最容易的首次测试,因为不需要硬件。
```bash
docker pull ruvnet/wifi-densepose:latest
docker run -p 3000:3000 ruvnet/wifi-densepose:latest
```
打开:
```
http://localhost:3000
```
在购买或刷写硬件之前,使用此模式来了解仪表盘、场景和预期输出。
## Python 包
安装 Python 包:
```bash
pip install ruview
```
可选包名:
```bash
pip install wifi-densepose
```
为 WebSocket 和 MQTT 工作流安装可选客户端支持:
```bash
pip install "ruview[client]"
```
基本导入检查:
```python
from ruview import BreathingExtractor, HeartRateExtractor
```
## 预训练模型
RuView 在 Hugging Face 上发布预训练的 WiFi 感知权重。将其下载到本地:
```bash
pip install huggingface_hub
huggingface-cli download ruvnet/wifi-densepose-pretrained --local-dir models/wifi-densepose-pretrained
```
将这些文件用于学习、查看和实验。对于实际部署,请查看当前仓库说明,因为模型格式和服务器支持可能会变化。
## ESP32 硬件设置
对于真实 CSI 感知,请使用能够暴露 WiFi 信道信息的 ESP32 硬件。README 将 ESP32-S3 和 ESP32-C6 标注为实用选项。
典型的高层流程:
1. 构建或下载 ESP32 CSI 节点固件。
2. 将固件刷入开发板。
3. 配置 WiFi 凭据和目标服务器 IP。
4. 启动 RuView 感知服务器或桥接程序。
5. 打开仪表盘并进行一个小型房间实验。
项目 README 中的刷写示例:
```bash
python -m esptool --chip esp32s3 --port COM9 --baud 460800 \\
write_flash 0x0 bootloader.bin 0x8000 partition-table.bin \\
0xf000 ota_data_initial.bin 0x20000 esp32-csi-node.bin
```
配置 WiFi:
```bash
python firmware/esp32-csi-node/provision.py --port COM9 \\
--ssid "YourWiFi" --password "secret" --target-ip 192.168.1.20
```
## 首次实验
在尝试姿态或生命体征之前,先从简单实验开始:
| 实验 | 记录内容 |
| ------ | --------------- |
| 空房间 | 无人时的基线信号。 |
| 一人进入 | 存在变化和置信度。 |
| 穿过房间行走 | 运动信号和时间。 |
| 静坐不动 | 误报和稳定性。 |
| 无人开门 | 环境噪声检查。 |
| 两人进入 | 人数统计和运动是否变得不稳定。 |
良好的记录会让结果更有用:
* 房间布局。
* 传感器位置。
* WiFi 信道。
* 人数。
* 节点之间的墙壁或家具。
* 重复的阳性和阴性测试。
## 有用命令
运行模拟演示:
```bash
docker run -p 3000:3000 ruvnet/wifi-densepose:latest
```
下载模型文件:
```bash
huggingface-cli download ruvnet/wifi-densepose-pretrained --local-dir models/wifi-densepose-pretrained
```
从项目固件文件夹构建 ESP32-C6 固件:
```bash
cd firmware/esp32-csi-node
idf.py set-target esp32c6
idf.py build
idf.py -p COM6 flash
```
使用仓库脚本运行实时 RF 房间扫描:
```bash
node scripts/rf-scan.js --port 5006
```
## 何时使用
RuView 适用于:
* 无线和物联网研究。
* 对无摄像头感知的隐私评估。
* 智能家居存在感知实验。
* 理解 WiFi 如何变成传感器。
* CSI、运动和 RF 指纹的实验室演示。
它不能替代:
* 经过认证的医疗设备。
* 单独作为可靠的安全报警器。
* 摄像头级别的身份识别或姿态系统。
* 适当的物理安全验证。
## 验证清单
在相信任何输出之前:
1. 确认演示或服务器正在运行。
2. 确认硬件输出的是 CSI,而不仅仅是 RSSI。
3. 记录空房间基线。
4. 每个测试重复多次。
5. 运行不应触发检测的阴性测试。
6. 将生命体征或安全事件与独立参考进行比较。
7. 记录失败情况,而不只是成功的截图。
## 参考资料
* [RuView 官方仓库](https://github.com/ruvnet/RuView)
* [RuView 用户指南](https://github.com/ruvnet/RuView/blob/main/docs/user-guide.md)
* [RuView 在线观测台演示](https://ruvnet.github.io/RuView/)
* [Hugging Face 上的 RuView 预训练模型](https://huggingface.co/ruvnet/wifi-densepose-pretrained)
* [RuView 运动捕捉指南](https://ruview.blog/ruview-motion-capture/)
---
# Agent Instructions
This documentation is published with GitBook. GitBook is the documentation platform designed so that both humans and AI agents can read, navigate, and reason over technical content effectively. Learn more at gitbook.com.
## Querying This Documentation
If you need additional information that is not directly available in this page, you can query the documentation dynamically by asking a question.
Perform an HTTP GET request on the current page URL with the `ask` query parameter, and the optional `goal` query parameter:
```
GET https://hacking-notes.jord4n.pro/zh/hacking-tools/enumeration/ruview-wifi-sensing.md?ask=&goal=
```
`ask` is the immediate question: it should be specific, self-contained, and written in natural language.
`goal` is optional and describes the broader end goal you are ultimately trying to accomplish on behalf of the user. GitBook uses it to tailor the answer towards what is most useful for that goal.
The response will contain a direct answer to the question and relevant excerpts and sources from the documentation.
Use this mechanism when the answer is not explicitly present in the current page, you need clarification or additional context, or you want to retrieve related documentation sections.